04 Jun Buttonholes in Hoop
Buttonholes in Hoop (Viking)
- Start a new embroidery
- Select stitch menu
- Select buttonhole
- Sample used A-45
Adjust size to fit your button. If you don’t know size use the little ruler on machine base - Select shaping icon
- Select straight line from shape menu
- Rotate buttonhole so it is vertical
You can do in either direction. It’s your choice - Add four more buttonholes to the design area
- Select spacing option
Select space evenly - Rotate the shape to go up and down in the hoop
- Check mark to save
Buttonholes in Hoop (Pfaff)
- Start embroidery
- Select sewing stitch menu
- Select buttonhole 1.3.17
- Select stitch edit to set size of buttonhole
- Select hoop options and set to 360 x 260
- Select shape creator
- Select basic shapes and the line
- Select edit to rotate 90 degrees
- Add 4 more buttonholes
- Drag on one end to just about fill the hoop
- Under positioning-set to vertical by using the side position options
- Set spacing to even
- Select OK to save
- Ready to push go!
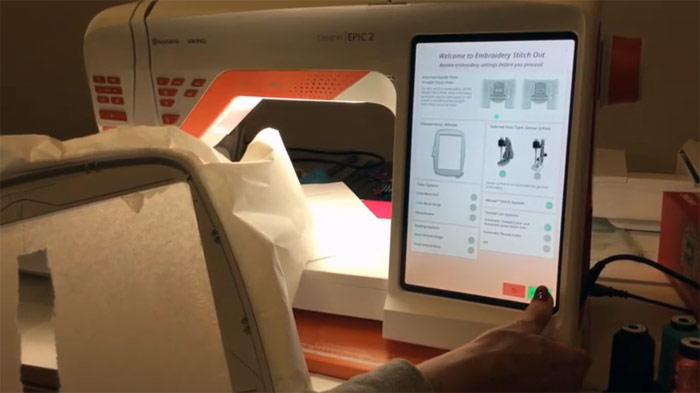
Stitching out
- Hoop up sticky tearaway
- Score paper and expose sticky
- Draw a line down stabilizer using center marks on the hoop
- Place blouse on the center mark
- If your blouse needs more buttonholes repeat process